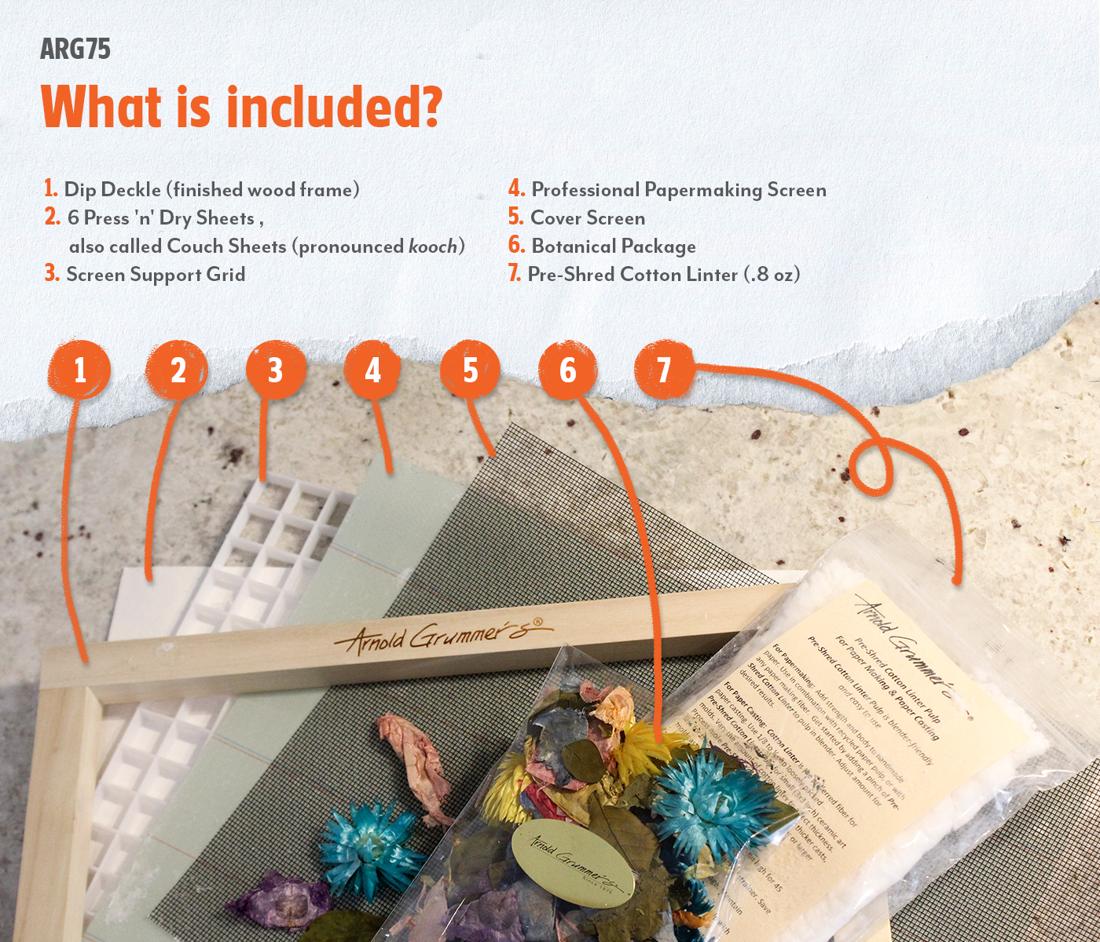
A vat (dishpan or storage container)* Note: We did not have one, so we used a kitchen sink
A blender
A sponge
Press bar (book, or anything of similar shape, in a plastic bag to protect it from water)
Tray (cake pan)
Optional: Ironing board and iron
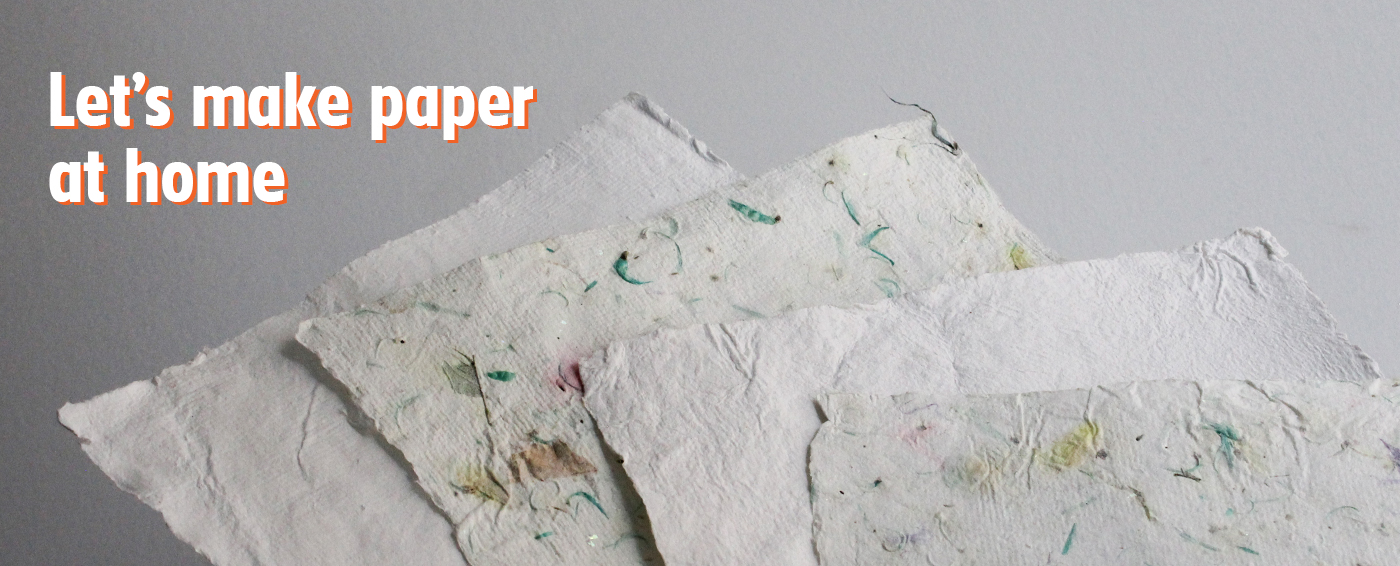
How to make paper
1. Create your pulp mixture
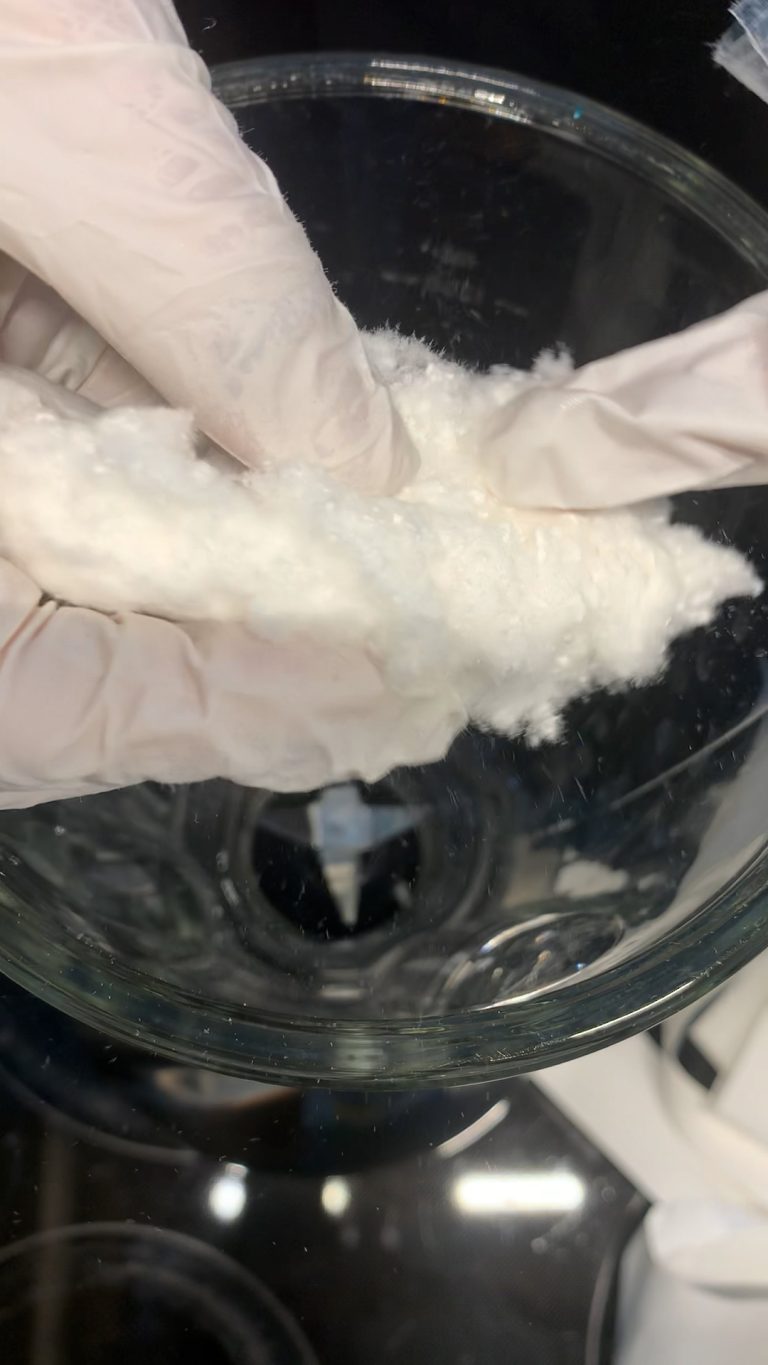
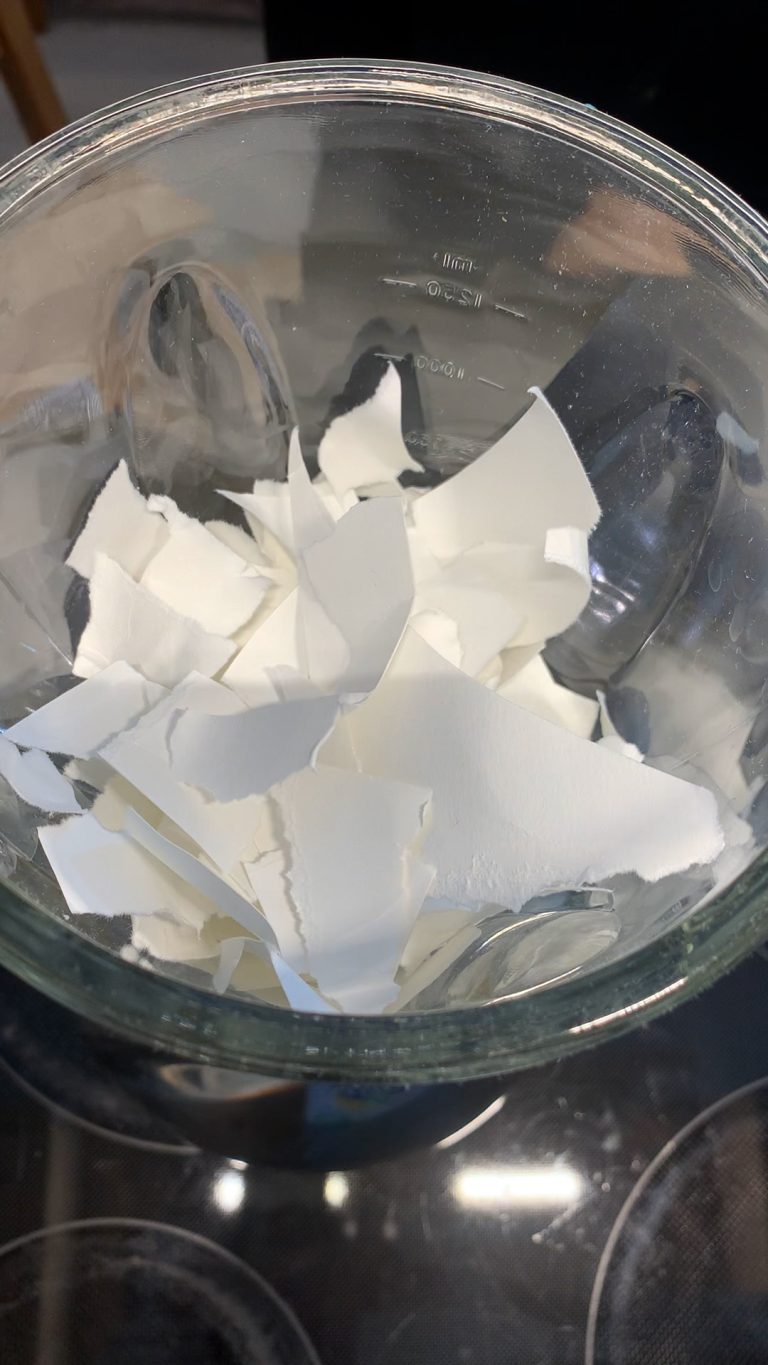
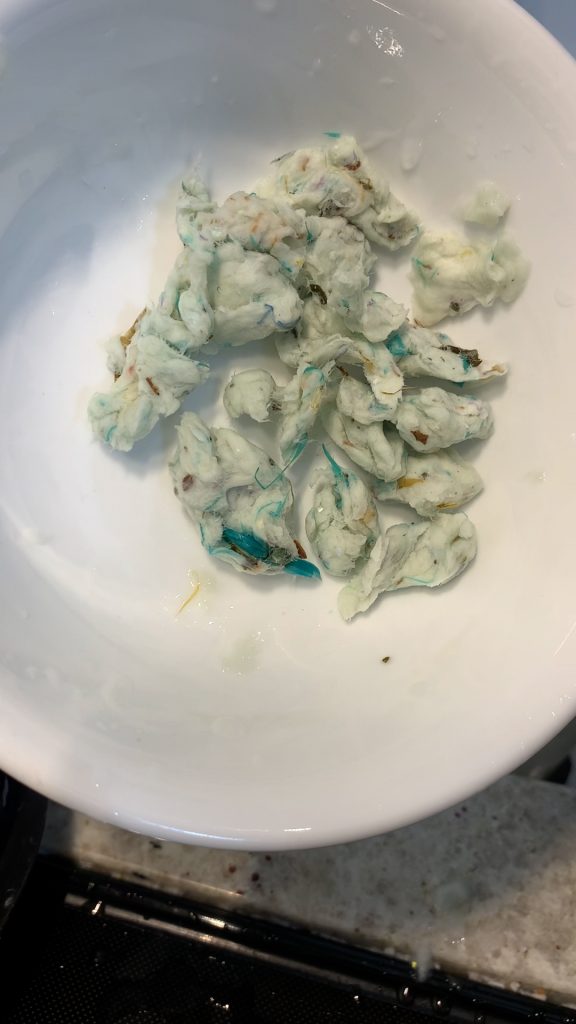
We used some of the provided cotton linter and paper scraps for our mixture. It is up to you to decide what to put in!
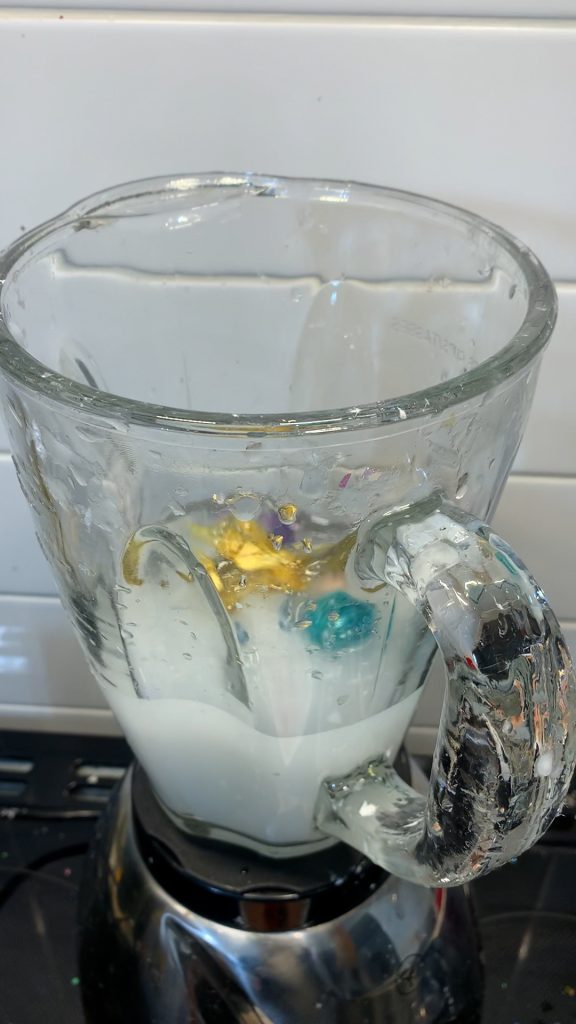
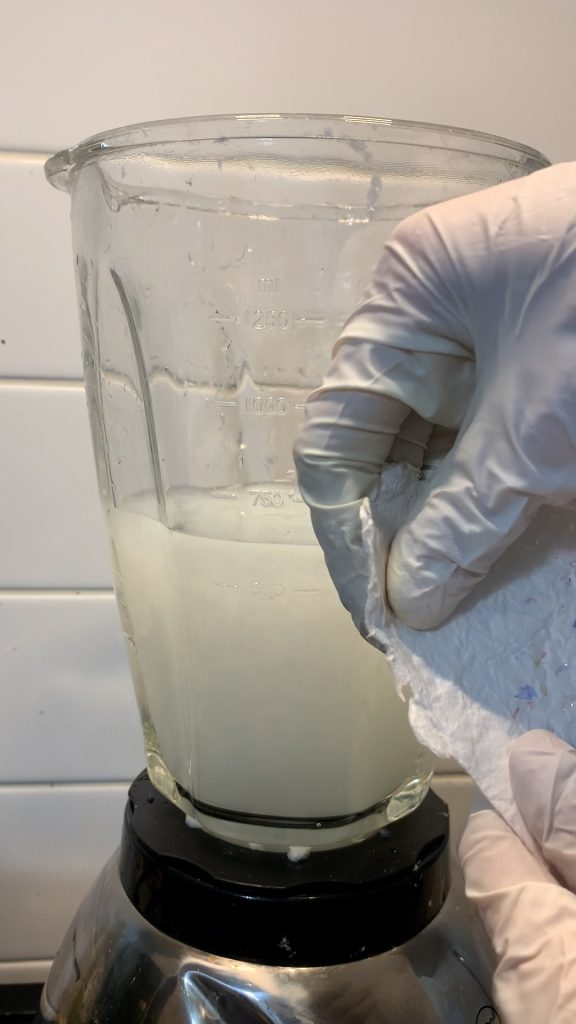
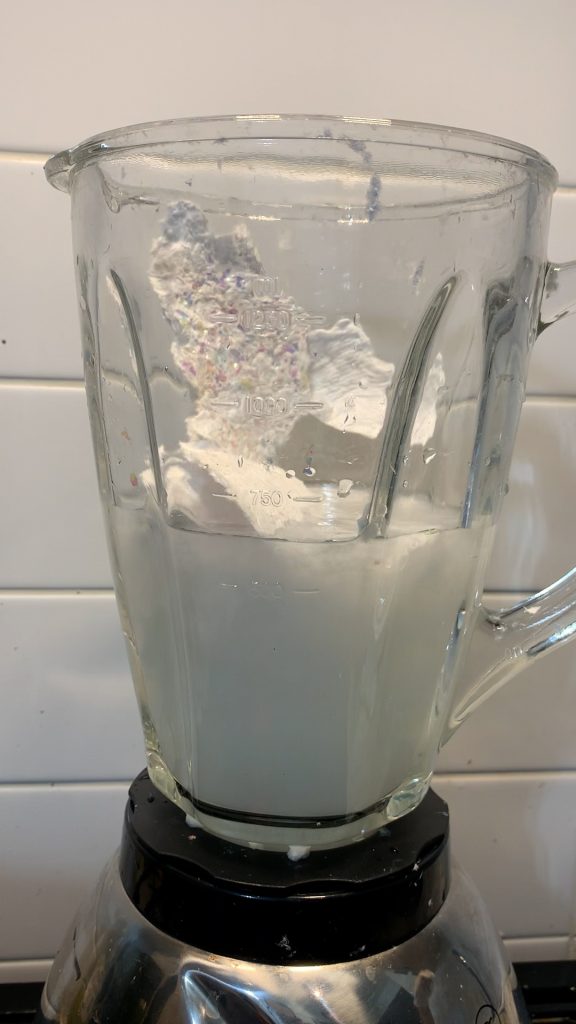
Arnold Grummer instructs to tear one 8.5″ x 11″ waste paper sheet (or its equivalent) into 2″ x 2″ pieces into the blender with 4 cups of water. Run blender 15-30 seconds. This is your pulp mixture.
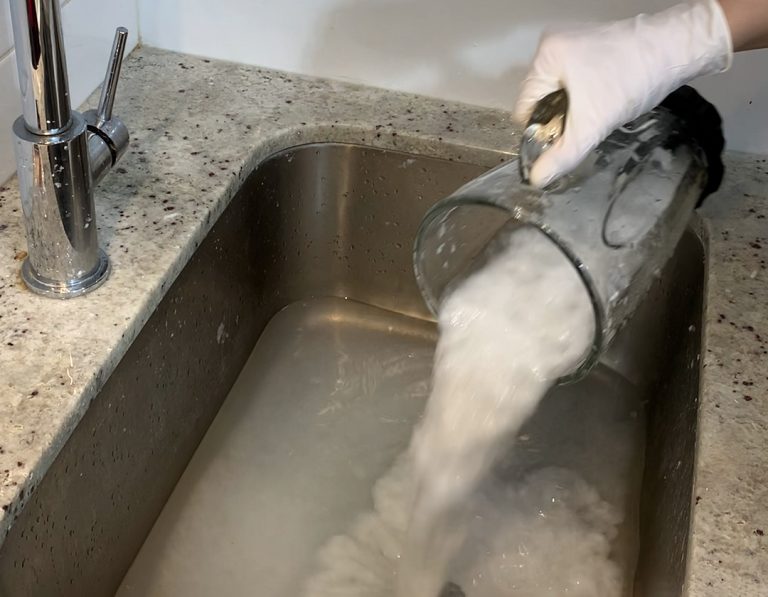
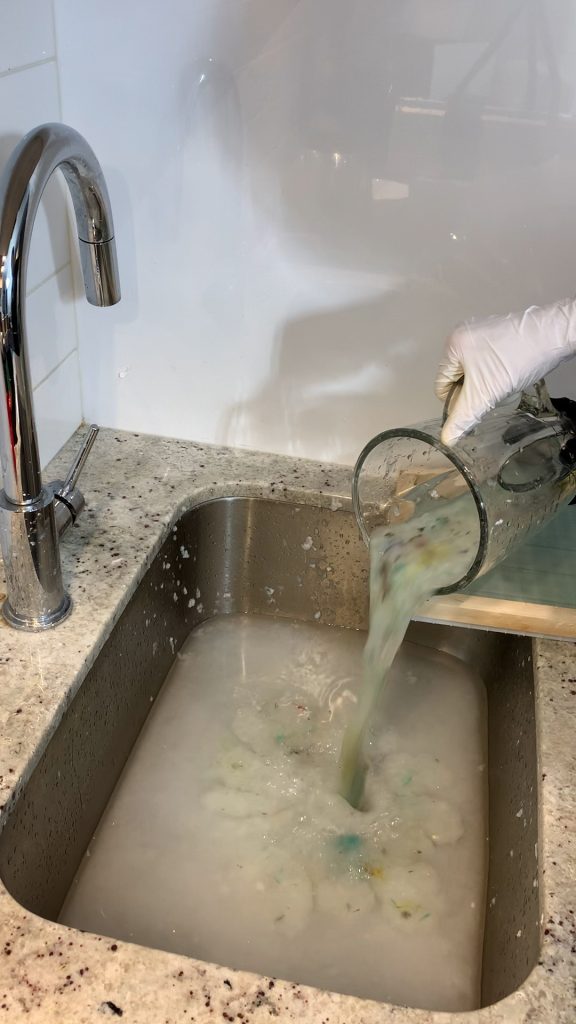
2. Pour pulp mixture into vat
Pour your pulp mixture into your vat. It is ideal to use a separate container, but if you are in a pinch like us, you can always use the sink. Because the sink is so large, we poured additional water.
Feel free to experiment with the paper and water ratio of your pulp.
IMPORTANT: Never pour pulp or strained water into household sinks or drains! Flush any leftover pulp or water down the toilet. More on what to do with leftover pulp later in the post.
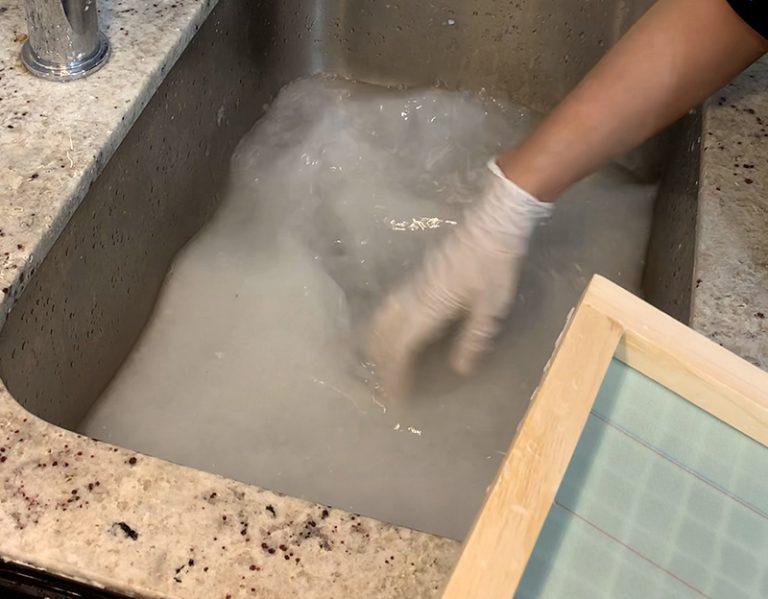
3. Agitate pulp
Agitate the pulp by moving your fingers vigorously to get fibers evenly distributed in the water. Don’t be shy.
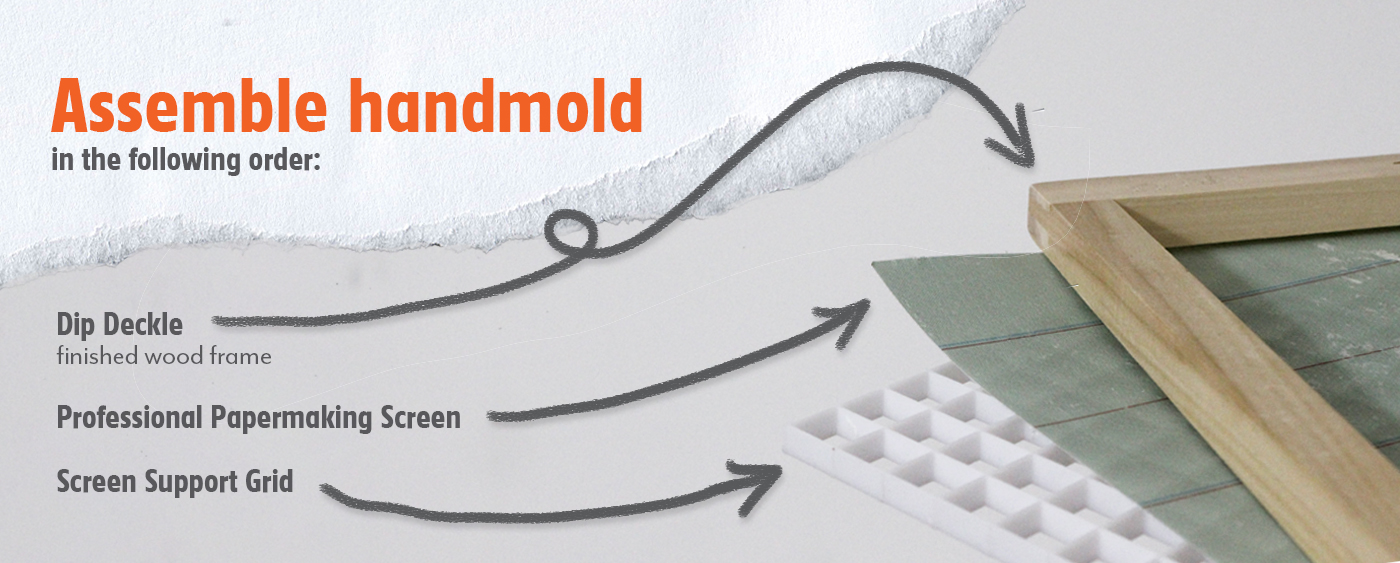
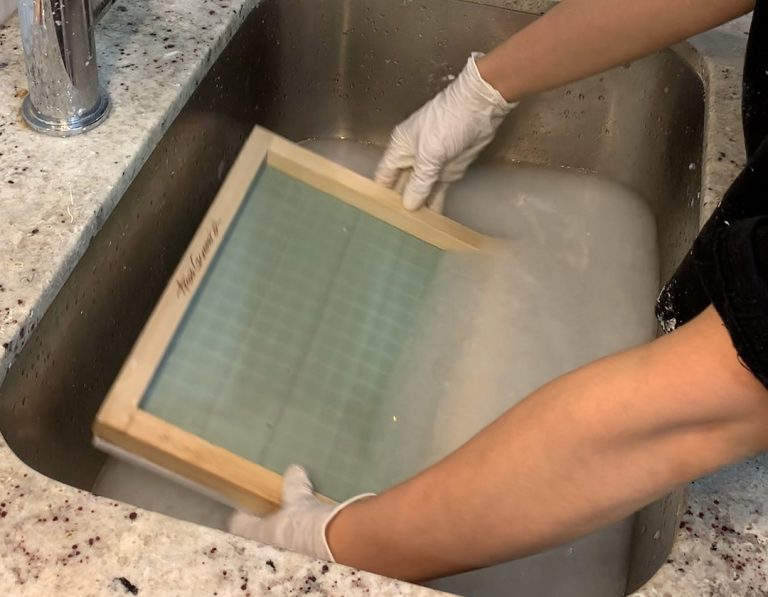
4. Pick up assembled handmold
Hold handmold vertically on the short sides over the pulp mixture, on far side of the vat.
5. Dipping time
Keeping the handmold vertical, “dip” it into the pulp. Slide the handmold towards you along the bottom of the vat.
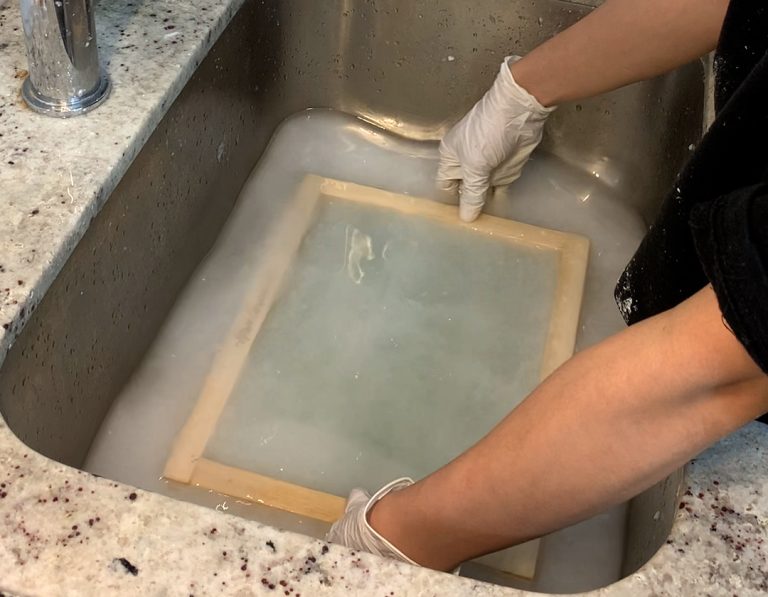
6. Lower handmold
With smooth movement, lower the handmold into the pulp until it rests flat at the bottom
Tip: When handmade sheets become thin – usually after 2 or 3 sheets – add more pulp to the vat by blending more paper scraps with water.
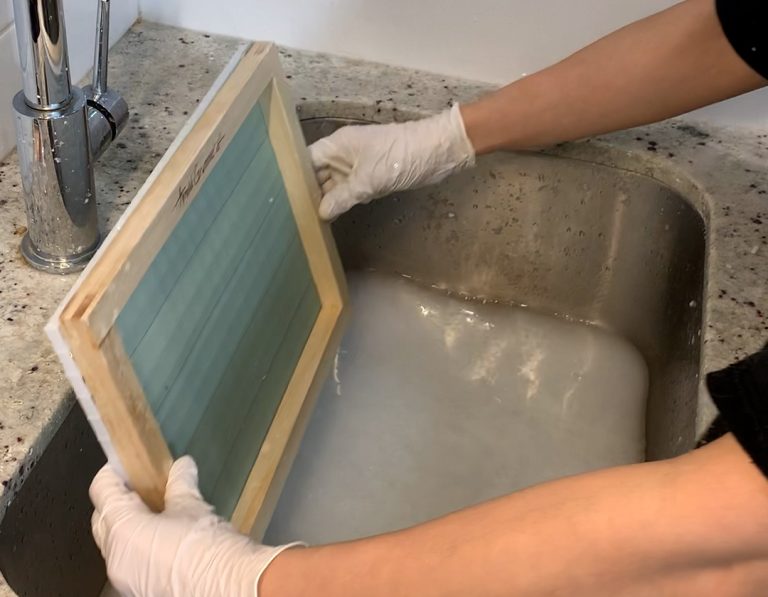
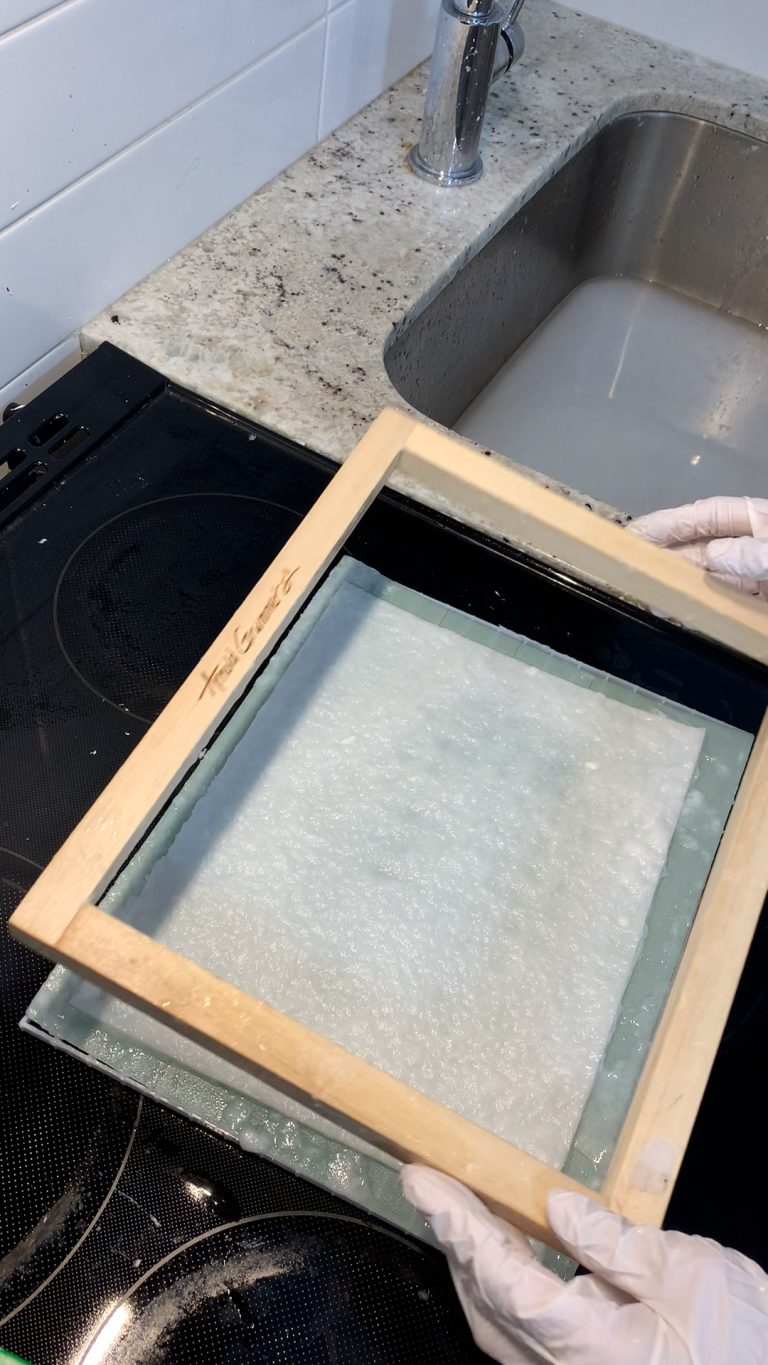
7. Set handmold on tray
Set handmold on a tray (such as cake pan, cafeteria tray …) for easy clean up. If you do not have one, like us, make sure you can easily clean up the water.
Place black cover sheet over the wet sheet.
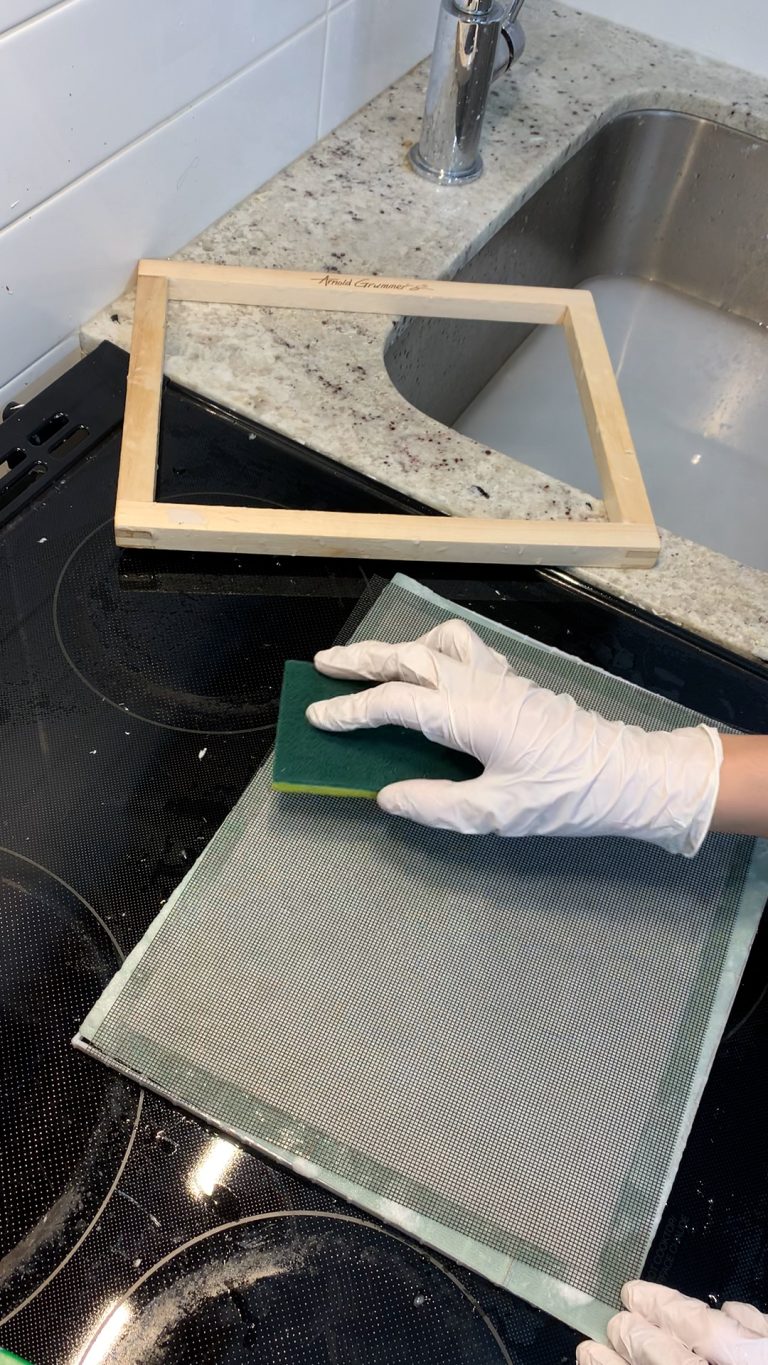
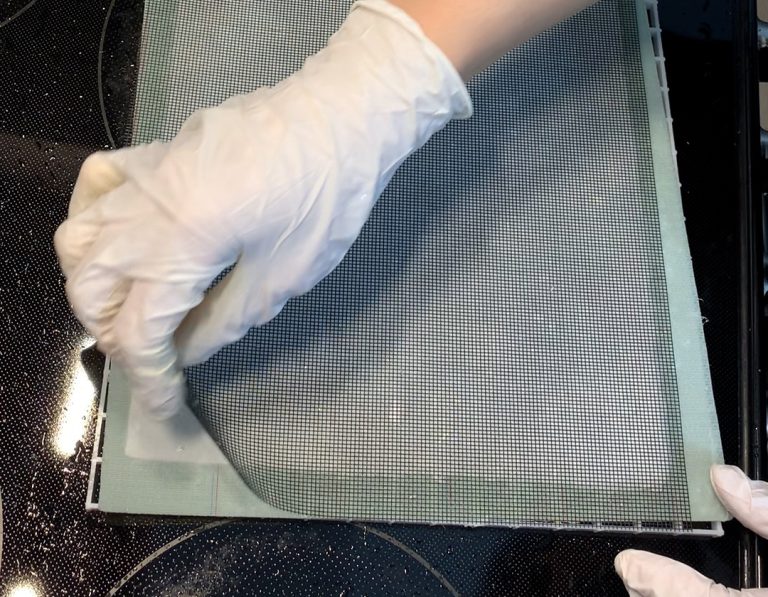
8. Press
Press a sponge over the entire cover screen. Wring sponge often. Get as much water out as possible.
9. Time to leave your paper to dry
Carefully lift one corner of paper making screen. New sheet should stay on cloth. Peel screen off slowly from corner.
Tip: If the new sheet lifts with the screen try other corners.
10. Use provided Press 'n' Dry Sheets
Lay Press ‘n’ Dry Sheet over wet paper and press to ensure paper flatness. Leave your work of art on the Couch sheet to dry.
Note: Learn from our mistakes and use the provided sheets.
Optional: Use Iron
Turn iron to a high setting with no steam. Use iron on pressing cloth until steam disappears. Turn over, and repeat. Remove press cloths and iron directly on sheet until paper is dry. Place under heavy books for several hours to flatten.
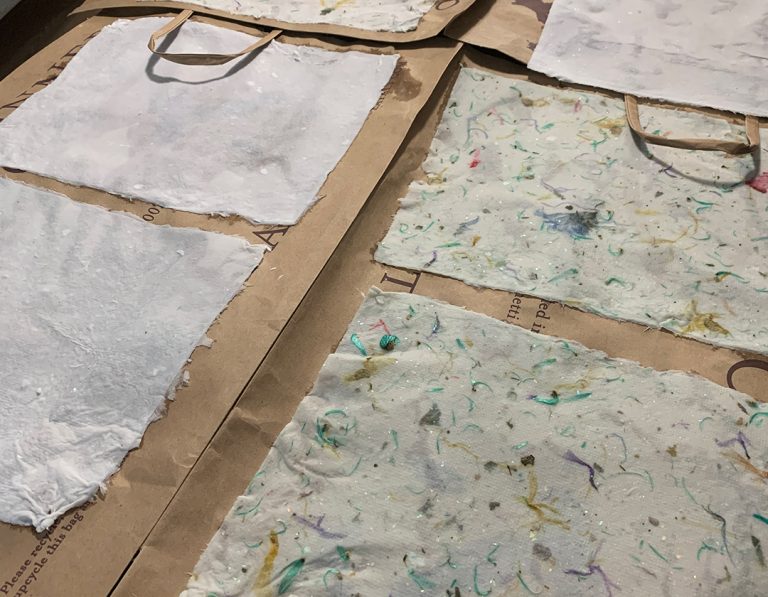
Drying time
It takes 1-3 days to fully dry.
Once our sheets were mostly dry, we stacked them up and placed weights on top to ensure it dries flat.
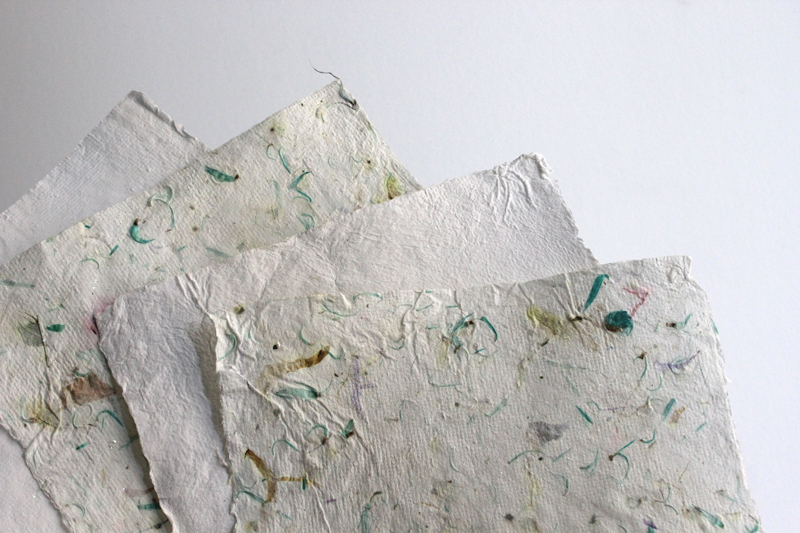
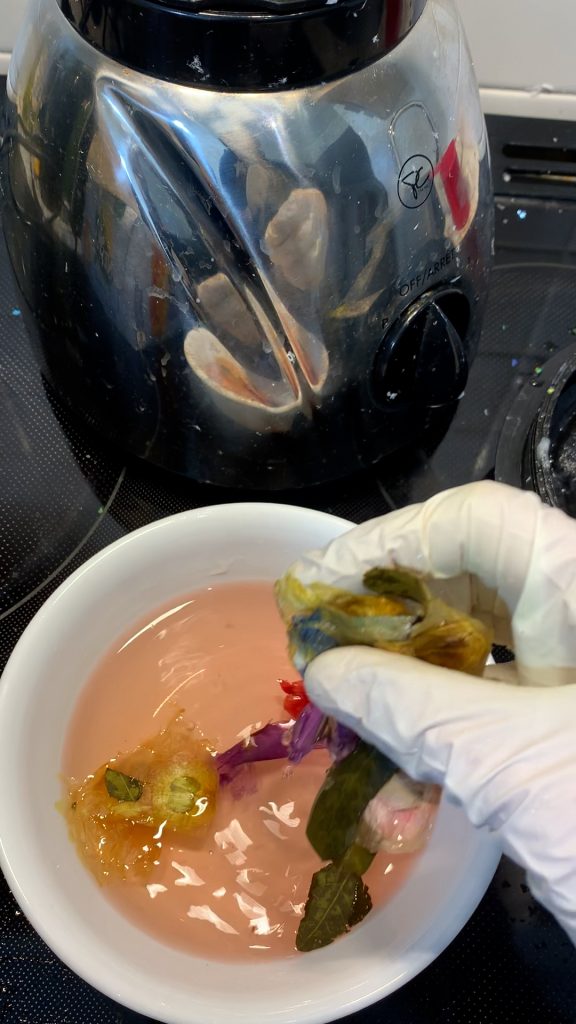
Using botanicals
The paper making kit includes a dried flowers package. Any dried flowers of your choice would work well. It is a great opportunity to use your dried bouquets from events such as a graduation, wedding, Mother’s day…
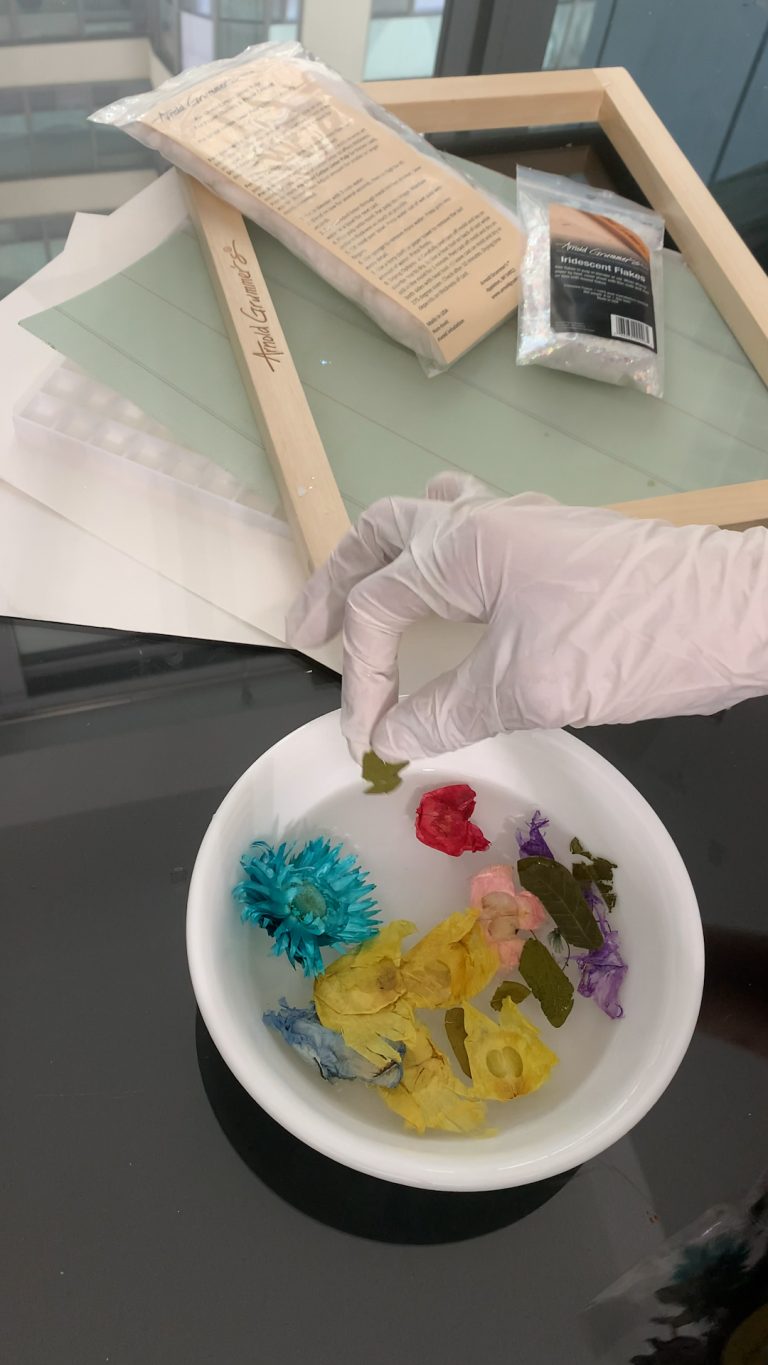
It is recommended to soak in water the flowers from the provided botanical package. This will avoid the flowers to colour/stain your paper.
Mix your pulp as instructed previously. Add your botanicals to your blender at the very end. Blend for 10-15 seconds.
You can also place each dried flower on your wet paper, if you want a specific design and composition.
Note: You can also place each dried flower on your wet paper, if you want a specific design and composition.
Come visit us at our Downtown location (74 McCaul St) and see all the available options to decorate and personalize your paper. We experimented with using Iridescent Flakes.
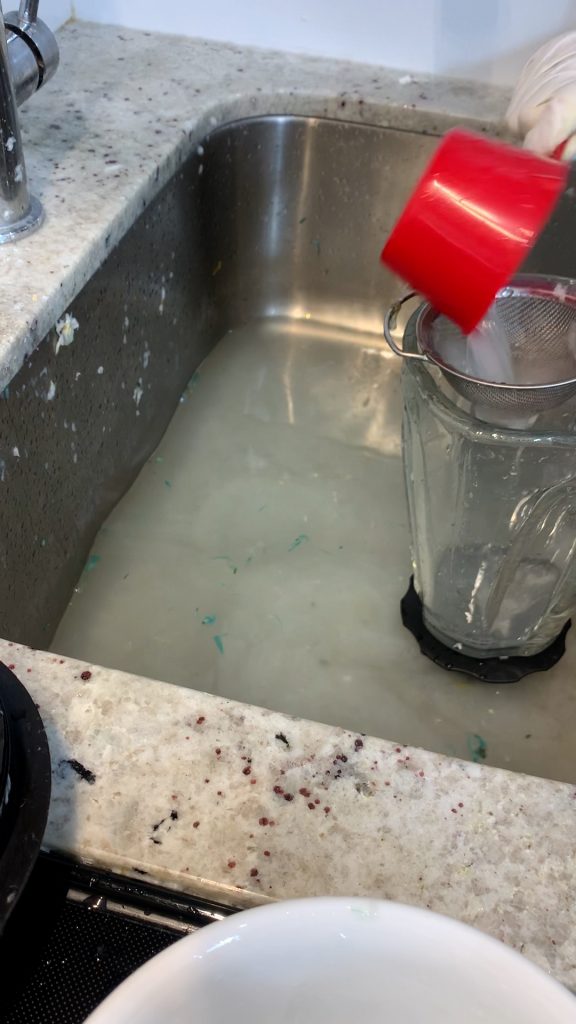
What to do with leftover pulp
Drain unused pulp from the blender or the vat through fine mesh strainer or cloth in a colander. Put damp pulp in plastic bags and refrigerate or freeze. Or let it fully dry and store for later. To reuse, add water and re-blend.
Infinite paper If you have homemade paper you do not like, you can always blend it again next time!
IMPORTANT REMINDER:
Never pour pulp or strained water into household sinks or drains! Flush any leftover pulp or water down the toilet. Stay tuned for more tutorials from Above Ground Art Supplies in Toronto today.